Warnings
This is not a final market product, this is a development board intended for lab use. Treat it as electronics work, it contains small parts, exposed pads, and may require soldering.
- Use only LIR2032 rechargeable coin cells. Do NOT use CR2032 or other disposable coin cells.
- Radio transmissions may be regulated. Verify local laws before transmitting; use responsibly.
- The board can read and emulate signals (RFID, NFC, IR, Sub‑GHz). Only test devices you own or have permission to test.
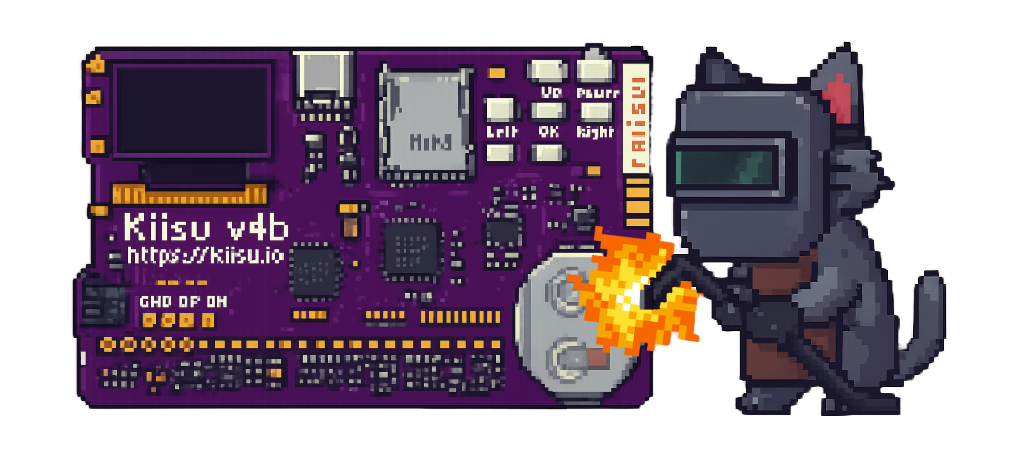
KNOW YOUR KIISU
- Display: 128×64 SPI OLED.
- Buttons: 5-way directional pad + OK + Back + Power.
- Main MCU: STM32WB55RGV6: handles the main firmware and most logic.
- AUX MCU: STM32G431: handles power and companion features, Aux USB header may require soldering to access.
- Sub-GHz:CC1101 transceiver with internal 433 MHz antenna, SMA footprint available for external antenna (requires soldering).
- RFID/NFC: 125 kHz RFID reader/emulator and ST25R3916-based NFC (13.56 MHz).
- Infrared: IR receiver and transmitter for capture/replay.
- MicroSD Slot: Storage for databases, logs and user files, push-push socket.
- I/O & Sensors: GPIO pins, iButton, accelerometer/compass, ambient light, temp/humidity.
Getting Started
What you need:
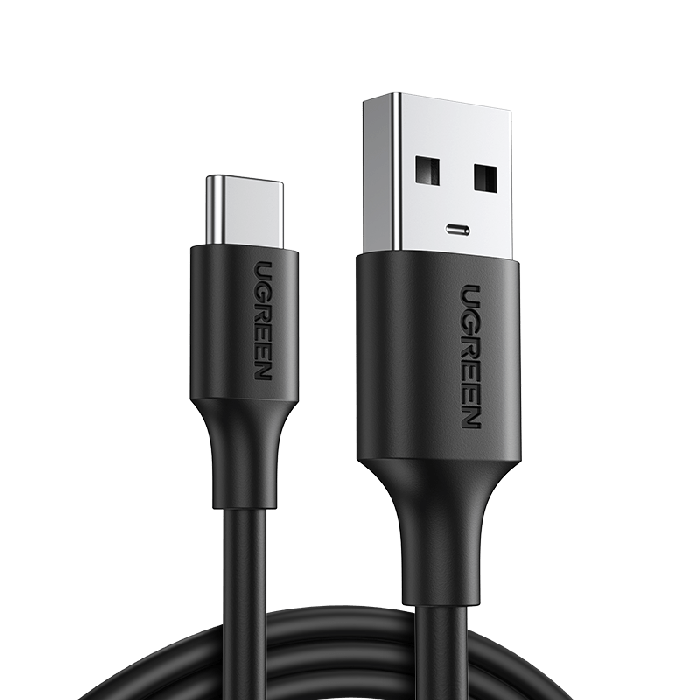
Type-C Cable (with data)
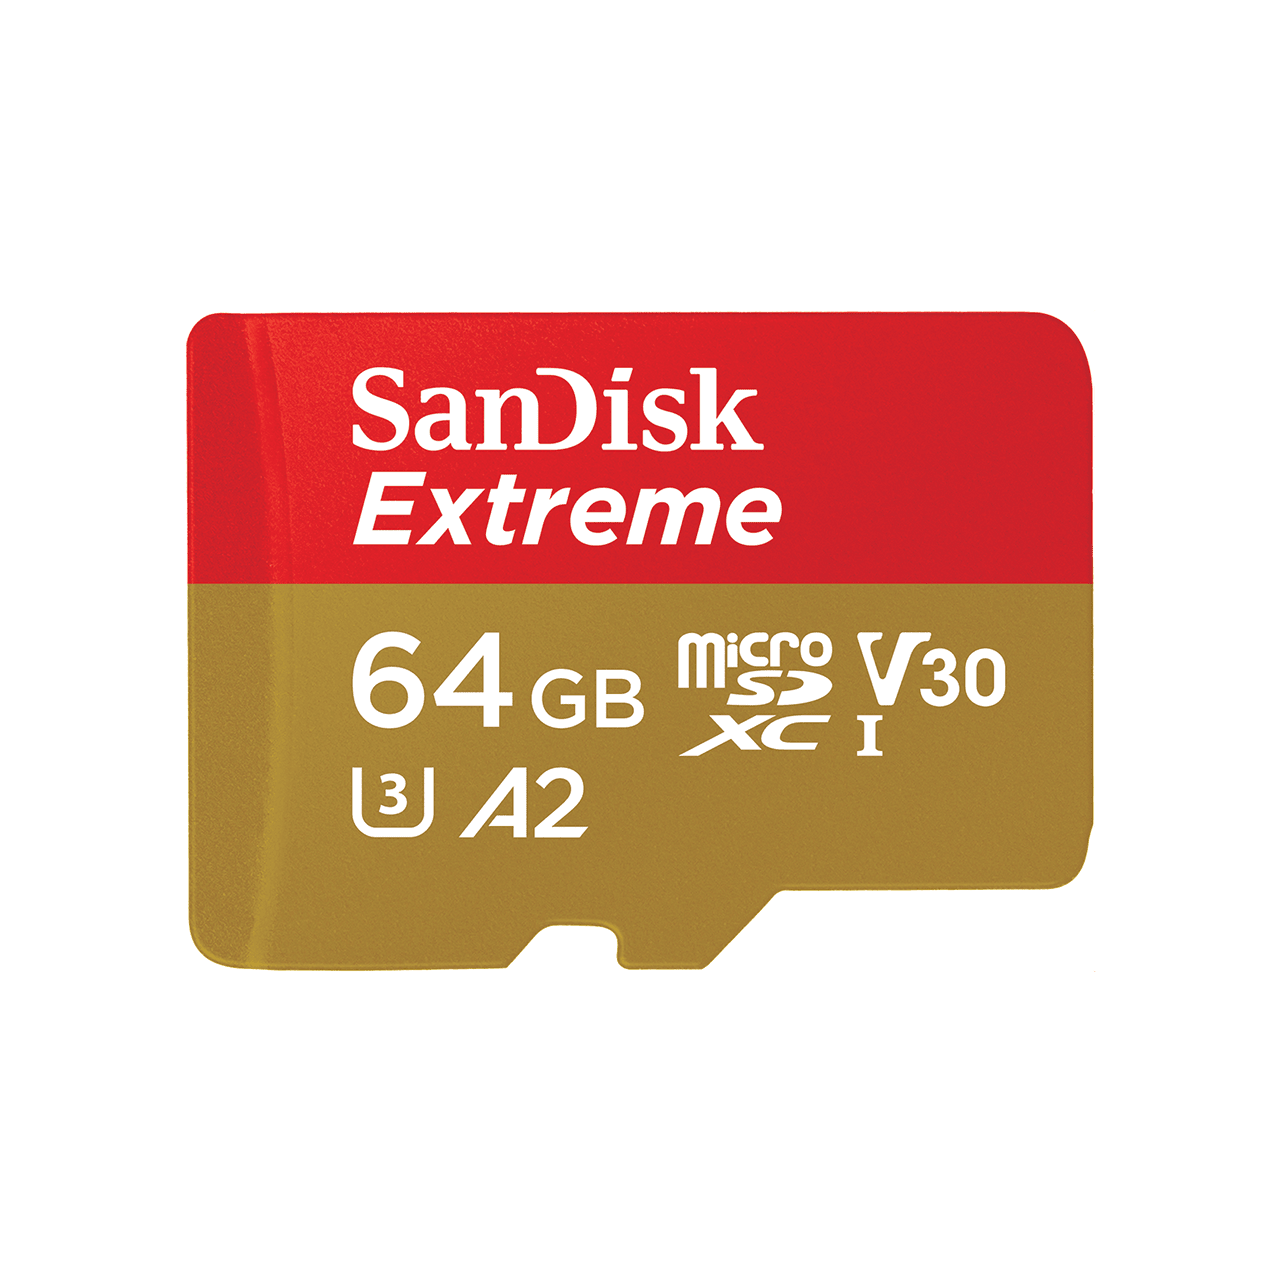
MicroSD Card (2-32GB recommended)
Computer (recommended)
Board ship-tested and pre-flashed with Kiisu Firmware. Follow these steps:
MicroSD
If you bought “prepared SD card to Kiisu”, just get it from storage holder and insert into Kiisu board. If not:
- Obtain any microSD card (even 1 Gb will be enough) and
- Format microSD card in FAT32 using your computer or phone.
- Download “kiisu.sdcard.zip” from GitHub https://github.com/kiisu-io/kiisu-firmware/releases/
- Extract contents of this archive to your microSD card
- Insert this card into Kiisu (2) before powering on.
If you can’t or don’t want to go this way, you may install empty microSD, format it with Kiisu and then update firmware. Read the manual for detail
How to KIISU
Battery
If your board shipped with battery, just pull-out isolation sticker. If not, obtain LIR2032 (not CR2032 nor other types) and insert it into holder (9). You can also power from USB only without battery.
Switch the Board On
Use switch on the top of the board (5) and demonstration firmware based on Flipper Zero firmware should start.
Read the Docs
To know more about different functions. Please note that Kiisu is not a “Flipper clone” and there are some limitations, you can read about it below.
Read This Manual
To know more about your board, updating firmware for Main and aux MCU, using external antenna or battery and much more.
Print the Case
If you want protect the board using your 3D printer and files from here:
Updating Firmware
Updating firmware is not necessary for starting, but you can do this using the same tools as for Flipper Zero. For example, you can find the instructions and files here: https://github.com/kiisu-io/kiisu-firmware and more links and information in the manual below.
Go Deeper
Go deeper examining
Kiisu schematics and docs that can be found
here https://github.com/kiisu-io/kiisu4 or write your own firmwares for
Aux or Main MCU. You can use any tools for STM32 such as
STM32CubeIde or Visual Studio with VisualGDB. Project for.
Join the community to ask questions, find answers or share your ideas by joining our Discord https://discord.gg/kiisu.
If kiisu does not turn on:
- Check if you have the right battery
- Make sure your battery is charged (…>3.5v)
- Try reflashing via ST-Link or USB DFU
- If all checks out, contact Kiisu support or ask for help on our discord

About SD Cards
Kiisu uses SPI for communication with SD Cards. Make sure it supports it. There are a lot of fake and low quality SD cards out there that might not be compatible or will cause very slow loading times. And sure your card stays under 32gb, anything over might also cause slow loading times or issues.
Sandisk Ultra line is recommended. It is cheap, high quality and optimal for Kiisu.
Please get it from a reputable retailer or site online.